
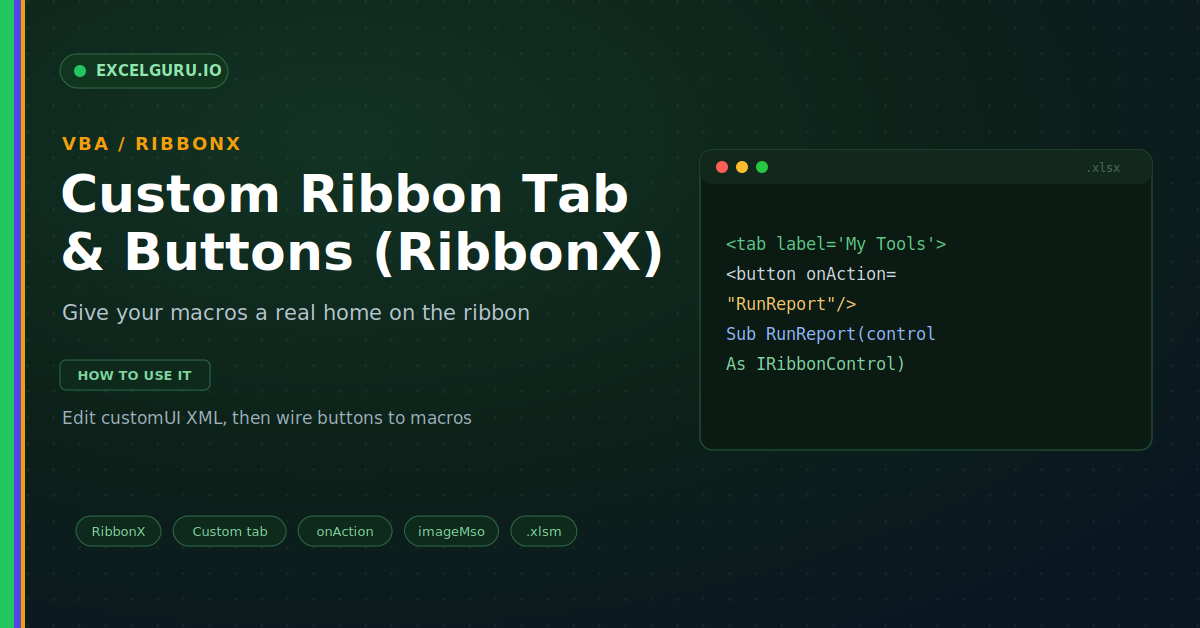
You wrote a great macro, but nobody can find it. It hides behind Alt+F8 or a stray shortcut. Your users deserve a real button instead. A custom ribbon tab gives every macro a clear home, with a label and an icon. Excel has no built-in ribbon editor, though. Instead, you define the ribbon with RibbonX XML stored inside the workbook, then wire each button to a macro.
This guide shows how to build a custom ribbon step by step. First, it explains where the XML lives and how it maps to buttons. Then it walks through the callback that makes a button run code. Real examples and a full troubleshooting section follow. By the end, your macros will sit on their own tab.
How the Ribbon Is Defined
The ribbon layout is just XML inside the file. A tab holds groups, and a group holds buttons. Each button names a macro to run through onAction. Notably, the structure reads like the ribbon looks. The infographic below shows the mapping.
Excel does not let you edit this XML directly. So you use a free tool called the Office RibbonX Editor. It opens the workbook, shows the XML, and validates it. Then Excel reads your layout the next time it opens.
Set Up the RibbonX Editor
The editor is small and free to download. It opens your closed workbook and reveals the customUI part. From there you paste and validate the ribbon XML. Because it checks your tags, it catches most mistakes early.
Example 1: A Minimal Tab and Button
Start with the smallest ribbon that works. It has one tab, one group, and one button. This proves your setup before you add more. So paste it, save, and reopen Excel.
Example 2: Wire the Button to a Macro
A button does nothing until a macro backs it. The onAction name must match a VBA sub. Crucially, that sub needs a special signature. It must accept an IRibbonControl argument.
Example 3: Add a Built-In Icon
A button looks better with a real icon. Excel ships thousands of built-in images. You reference one by its imageMso name. Therefore your tab matches the native look.
Example 4: Group Several Buttons
Real tools need more than one button. A group keeps related actions together. You simply add more buttons inside it. As a result, the tab stays tidy and clear.
Example 5: Enable a Button Dynamically
Sometimes a button should turn on or off. A getEnabled callback decides that at runtime. You then refresh the ribbon to apply the change. This keeps the tab in step with your data.
Troubleshooting Custom Ribbons
All three problems below are the most common. Each has a clear cause and a quick fix.
The button does nothing when clicked
Usually the callback has the wrong signature. A ribbon macro must accept an IRibbonControl argument. Without it, Excel cannot call the sub, so nothing happens. First, open the callback and check its first line. Then make sure it reads control As IRibbonControl. Also confirm the onAction name matches the sub name exactly. With both in place, the button runs your code every time.
The custom tab never appears
This often means macros are disabled for the file. A ribbon tied to macros will not load then. First, check the yellow security bar and enable content. Next, confirm the file is saved as .xlsm, not .xlsx. Then validate the XML in the RibbonX editor, since one bad tag hides the whole tab. After a clean validation and a reopen, the tab appears.
An icon shows as blank
This means the imageMso name is wrong or unknown. Excel ignores an icon it cannot find and shows nothing. So double-check the exact spelling and capitalisation. The ids are case sensitive, which trips many people up. Then compare your value against a published imageMso list. Once the name matches a real icon, it renders correctly.
Frequently Asked Questions
- Can I edit the Excel ribbon without extra tools?+Not for a code-backed tab, unfortunately. Excel has no built-in RibbonX editor. So most people use the free Office RibbonX Editor. It opens the file and validates the XML for you.
- Why must a ribbon macro have IRibbonControl?+Because Excel passes the clicked control to the sub. The callback signature must accept that argument. Without it, the macro cannot run from the button. So include control As IRibbonControl every time.
- What file type do I need for a custom ribbon?+You need a macro-enabled format, such as .xlsm. A plain .xlsx cannot store the macros your buttons call. Therefore save as .xlsm before adding the XML. An add-in .xlam works too.
- How do I add an icon to a button?+Use the imageMso attribute with a built-in icon id. For example, imageMso="RefreshAll" shows the refresh icon. The ids are case sensitive, so spell them exactly. Published galleries list every available name.