
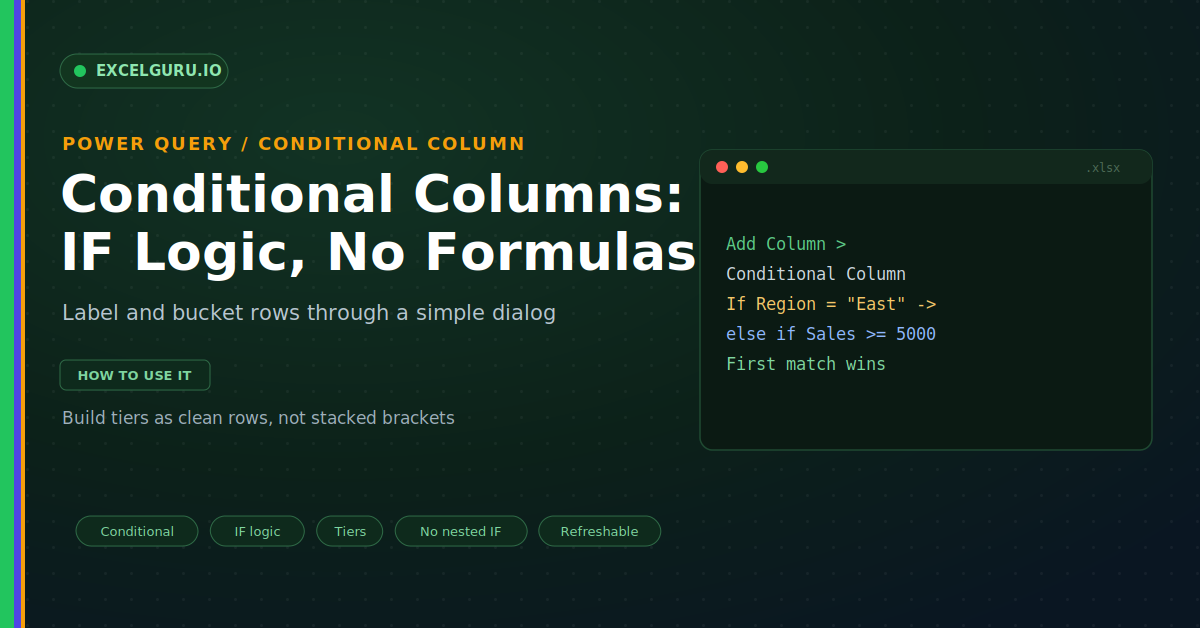
Labelling data is one of the most common jobs in Excel. You sort regions into domestic or export, or bucket sales into gold, silver, and bronze. In a worksheet, that means a nested IF formula, with brackets stacked so deep you lose count. Miss one, and the whole thing collapses. Power Query offers a cleaner path. Its Conditional Column builds the same IF logic through a simple dialog, with no formula to write.
This guide shows how to categorise data without formulas. First, it explains the labelling problem. Then it covers the dialog, multiple tiers, and the M behind it. A comparison and a full troubleshooting section follow. By the end, you will tag any column in a few clicks.
The Categorizing Problem
Raw data rarely carries the labels you need. You often must group rows into categories. A nested IF can do it, but it grows messy fast. So a friendlier tool saves both time and errors.
What a Conditional Column Is
A conditional column adds labels by rule. You describe each rule in plain words. If a condition is true, it writes your chosen value. The dialog turns that into logic for you, as below.
So you never type a formula at all. You pick a column, an operator, and a value. Then you set the output for each case. As a result, the logic reads like a sentence.
Build a Conditional Column
Creating one takes just a few clicks. You open the Conditional Column dialog. Then you fill in a rule and an else value. So a new labelled column appears at once.
Multiple Conditions and Tiers
Most real jobs need more than one rule. You can stack clauses for tiers. Each clause adds another "else if" test. The rules run top to bottom, as below.
The M Behind It
The dialog writes real code for you. It builds an M if, then, else expression. You can view and edit it in the formula bar. So the friendly dialog and the code stay in sync.
Conditional Column Versus Nested IF
Both produce the same labels in the end. Yet the effort is very different. A nested IF piles brackets you must balance. The dialog lists clean, readable rows instead, as below.
Troubleshooting Conditional Columns
All three problems below are the most common. Each has a clear cause and a quick fix.
Every row gets the same label
This usually points to rule order. Power Query stops at the first matching rule. So a broad rule at the top catches everything. First, review the order of your clauses. Then move the strictest thresholds to the top. For tiers, that means the highest value first. After reordering, each row lands in the right bucket.
The rule never matches
A type mismatch is the usual culprit here. Comparing text to a number quietly fails. So a numeric column tested against "1000" as text finds nothing. First, check the column's data type. Then make sure the comparison value matches that type. Set the column to a number before testing a threshold. Once the types agree, the rule fires correctly.
Some rows come back blank
Blank results mean a case slipped through. A row matched no rule and had no else value. First, open the dialog and check the Else box. It should hold a sensible catch-all label. For example, set it to "Other" or "Unknown". That way, no row is ever left empty. After that, every row carries a label.
Frequently Asked Questions
- What is a conditional column in Power Query?+It adds a column using IF-style rules. You build each rule in a simple dialog. If a condition is true, it writes your value. So it labels data without a formula.
- How is it different from an Excel IF formula?+A nested IF stacks brackets that break easily. A conditional column lists clean rows instead. Both refresh, but the column is far easier to read. So it is kinder to maintain.
- Can I use multiple conditions?+Yes, just add a clause for each tier. Each one acts like an "else if" test. The rules run from top to bottom. So order them from high to low.
- Why do all my rows get the same label?+Because a broad rule sits too high in the list. Power Query stops at the first match. So put the strictest thresholds at the top. Then each row lands in the right bucket.