
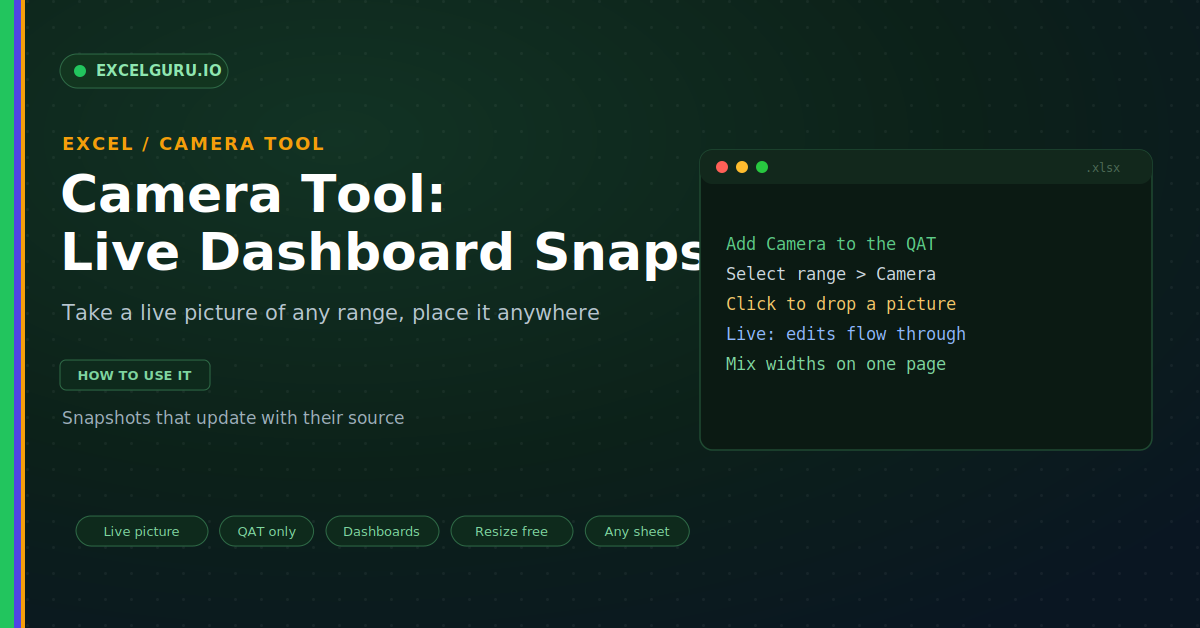
Building a dashboard in Excel runs into an awkward wall. Your KPIs live on one sheet, a chart on another, and a summary table on a third. Each needs its own column widths, so they cannot share a single grid. Squeeze them together, and the layout falls apart. The Camera Tool solves this neatly. It takes a live picture of any range, which you can place and resize anywhere you like.
This guide shows how to use this hidden gem. First, it explains what the Camera Tool does. Then it covers adding it, taking snapshots, and building a dashboard. Best practices and a full troubleshooting section follow. By the end, you will assemble dashboards with ease.
What the Camera Tool Does
The Camera Tool photographs a range of cells. It creates a picture that stays linked to the source. Change the source, and the picture updates at once. So it is a live image, not a dead screenshot, as below.
This freedom is the whole point. You can drag the picture anywhere on the sheet. You can resize it without touching the data. As a result, layout stops fighting your content.
Add It to the Toolbar
The Camera Tool is oddly well hidden. It does not appear on the ribbon at all. Instead, you add it to the Quick Access Toolbar. The steps below make it a permanent button, as below.
Take a Snapshot
Capturing a range is quick and simple. You select the cells you want to show. Then you click Camera and drop the picture. So a live image appears in seconds.
It Stays Live
This is what sets the Camera apart. The snapshot never goes stale. Whenever the source cells change, the picture follows. So your dashboard always shows current numbers.
Build a Dashboard From Snapshots
Now the real payoff arrives. You gather snapshots onto one clean sheet. Each comes from a different source with its own widths. Yet they sit together happily, as below.
Camera Versus Linked Picture
Excel offers a close cousin to the Camera. Paste Special can paste a Linked Picture. It behaves much like a Camera snapshot. So a few habits keep both tidy.
Troubleshooting the Camera Tool
All three problems below are the most common. Each has a clear cause and a quick fix.
I cannot find the Camera button
This is normal, since it is not on the ribbon. Excel hides it among the full command list. First, open the Quick Access Toolbar options. Then set the command source to All Commands. Scroll down to Camera and add it. Click OK to pin it to your toolbar. After that, it is always within reach.
The snapshot looks blurry
A camera picture is still an image at heart. So stretching it too far softens the edges. First, avoid resizing the snapshot much larger. Instead, adjust the source range to the size you need. Also view the sheet near 100% zoom. A heavy zoom can make any picture look fuzzy. Sized well, the snapshot stays crisp.
The picture is not updating
A static image is the usual culprit here. A plain paste creates a frozen screenshot. So it never reflects new data. First, delete that static image. Then recreate it with the Camera Tool. Confirm you clicked Camera, not a normal paste. After that, the snapshot updates with the source.
Frequently Asked Questions
- What is the Camera Tool in Excel?+It takes a live picture of a cell range. The picture stays linked to the source. So it updates whenever the data changes. You can place and resize it anywhere.
- Where do I find the Camera Tool?+It is not on the ribbon by default. So add it to the Quick Access Toolbar. Choose All Commands, then find Camera. Click Add to pin it there.
- Does the Camera snapshot update automatically?+Yes, it keeps a live link to the source. So it refreshes when the data changes. A plain paste, by contrast, stays frozen. So always use the Camera for live views.
- Why is my Camera snapshot blurry?+Because it is an image being stretched. So avoid enlarging it too much. Size the source range instead. Also keep the zoom near 100%.