
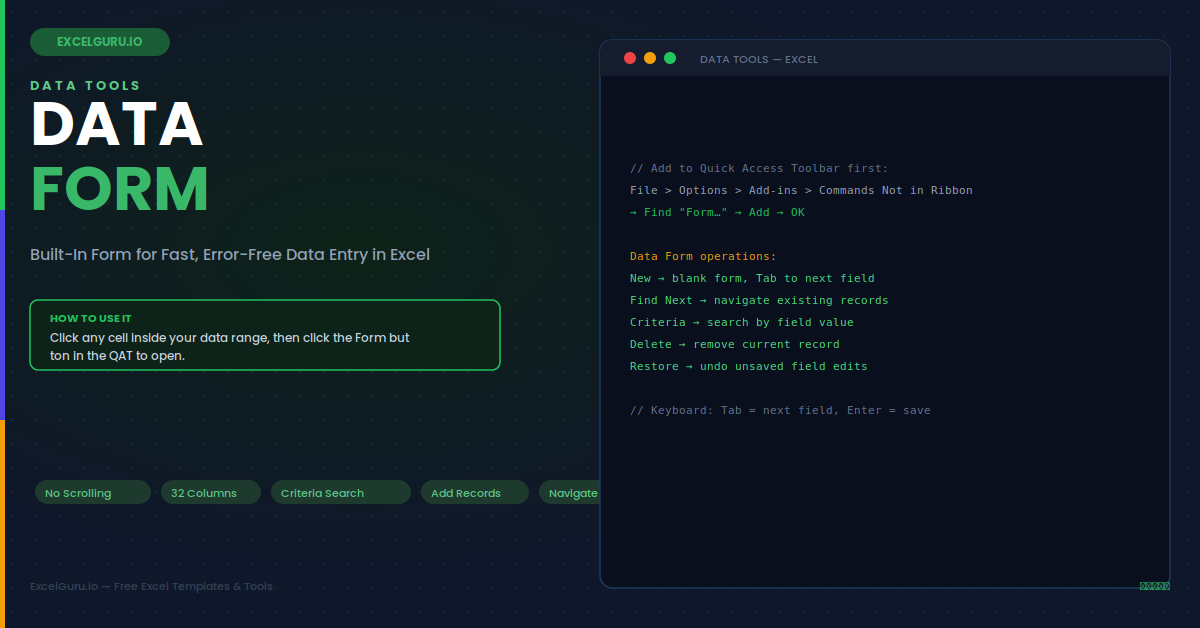
Typing new records into an Excel table row by row means scrolling horizontally for wide layouts, skipping the wrong column, and losing your place. The Data Form — a built-in Excel dialog that most users have never seen — solves this. It presents every column in your table as a labelled input field in a vertical list, lets you navigate records with Next and Previous buttons, and adds new rows without any manual scrolling. No VBA. No UserForm design. Just a hidden dialog that has shipped with Excel since version 2.0. This guide covers how to access it, all six operations it supports, and six real-world scenarios where it saves significant time.
Why the Data Form Is Hidden
Microsoft removed the Data Form button from the Excel ribbon in Excel 2007 when the ribbon replaced the old menus. The feature still exists and works perfectly — it simply has no default button. You must add it manually, which takes about 90 seconds the first time and persists across sessions. Two routes work: the Quick Access Toolbar (QAT) or a custom ribbon group. Both approaches are equally effective and require no Add-ins or third-party software.
What the Data Form Dialog Does
The dialog presents your data as a vertical form — one labelled field per column, with navigation buttons on the right side. It supports six operations. Each is faster than the equivalent ribbon or keyboard action when you are working with wide tables or entering many sequential records.
Example 1: Entering Invoice Records — 12-Column Table Without Scrolling
An invoice log has 12 columns: Invoice Number, Date, Client, Project, Amount, Currency, VAT Rate, VAT Amount, Total, Payment Status, Payment Date, and Notes. Entering a new row normally requires scrolling right to reach columns 8–12. The Data Form eliminates this entirely — all 12 fields appear in a vertical list in the dialog. Tab moves between fields in order. Press Enter after filling the last field to save the row and open a blank form for the next invoice. Entry speed increases noticeably by the third or fourth record.
Example 2: Navigating and Editing Existing Records
The Find Prev and Find Next buttons navigate through existing rows one at a time, displaying each record's values in the form fields. This is particularly useful for reviewing or correcting data in a long list without knowing the exact row number. When you find the record that needs editing, simply overtype the incorrect field value in the form. Press Enter to save the change. The Restore button reverts any changes made during the current form visit, as long as you have not yet pressed Enter to save them.
Example 3: Criteria Search — Find Records Without a Filter
The Criteria button transforms the form into a search interface. Type a value into any field and press Find Next — the form jumps to the first record matching that value. Wildcards are supported: "S*" matches all values starting with S, "?rown" matches Brown, Crown, or any five-character name ending in "rown". Importantly, this leaves the actual table unfiltered — no AutoFilter is applied and no rows are hidden. The form simply navigates to matching records, leaving the worksheet completely unchanged.
Example 4: CRM Contact Database — Rapid Sequential Entry
A contact database has columns for First Name, Last Name, Company, Role, Email, Phone, City, Country, Source, Status, and Notes. Entering 50 contacts from a business card stack via the Data Form is significantly faster than typing into the grid — there is no risk of accidentally editing the row above, no horizontal scrolling, and the Tab order follows a logical top-to-bottom sequence matching the order you read a business card. Each Enter keystroke saves one contact and opens a clean blank form for the next.
Example 5: Deleting Records — Individual Row Removal
Deleting rows via the grid requires right-clicking and choosing Delete Row, which removes the entire row including any data outside the table range. The Data Form's Delete button removes only the current record from the table with a single click. Navigate to the record using Find Next or Criteria, then click Delete. Excel shows a warning before deletion. Clicking OK removes the record immediately and permanently — there is no undo for Data Form deletions. Always verify the correct record is displayed in the form before clicking Delete.
Example 6: Inventory Audit — Reviewing and Correcting Stock Counts
An inventory table has 500 rows and 10 columns. An auditor needs to review flagged items — those where the Discrepancy column is not zero — and correct the Stock Count field for each one. Using Criteria, they filter to Discrepancy "<>0" to navigate only flagged records. For each one, they overtype the corrected stock count in the form and press Enter. The process requires no sorting, no filtering of the worksheet, and no risk of editing the wrong row in a crowded 500-row table.
Troubleshooting the Data Form
All three issues below are the most common problems users encounter when first using the Data Form. Each has a specific, quick fix.
The Form button is greyed out or the dialog does not open
The Data Form requires the active cell to be inside a contiguous data range with headers in the first row. If the active cell is on an empty row, an empty column, or completely outside the data range, the Form button does nothing. Click a cell inside the data table — specifically in a row that contains data, not in the header row itself and not in any completely blank row within the data. Also verify the range has no blank columns separating data columns, as blank columns break the contiguous range that the Form dialog requires.
The form shows no fields — the dialog appears blank
A blank form dialog usually means the selected range has no header row that the form can use as field labels, or the headers are numbers rather than text. The Data Form reads the first row of the data range as field labels. If the first row contains numbers, dates, or blank cells, the form has no labels to display. Also check that the active cell is in row 2 or below — clicking in the header row itself before opening the form causes this issue. Move the active cell to any data row and reopen the form.
The Criteria search returns no results even though matching records exist
This happens most often because the Criteria form is still active — you must click Find Next after entering the criteria values, not just type them and wait. Additionally, text criteria are case-insensitive but must match the cell content exactly for non-wildcard searches. Extra spaces in a field value will prevent a match — for example, searching for "Acme" will not match "Acme " (with a trailing space). Use a wildcard: "Acme*" matches any value starting with "Acme" regardless of trailing characters, which is generally the safer approach for text criteria.
Frequently Asked Questions
- How do I access the Data Form in Excel?+The Data Form button is not on the ribbon by default. Add it to the Quick Access Toolbar by clicking the QAT dropdown arrow > More Commands > Commands Not in the Ribbon > Form… > Add. Click OK. The Form button appears in the QAT. To open it, click any cell inside your data range (not the header row), then click the Form button. The dialog appears with one field per column and buttons for New, Delete, Restore, Find Prev, Find Next, Criteria, and Close.
- Does the Data Form work with Excel Tables?+Yes. The Data Form works with both plain data ranges and Excel Tables (formatted with Insert > Table). When used with a Table, new records added via the Form automatically extend the Table — the table boundary expands to include the new row, preserving all structured references, column formulas, and auto-formatting. This makes the Data Form particularly useful for Tables that feed Power Query, PivotTables, or VLOOKUP structured references, because each new record is automatically included in all downstream calculations.
- Can the Data Form show formula results in read-only fields?+Yes. Columns containing formulas appear in the Data Form as read-only fields — their calculated values are displayed but cannot be edited through the form. Only columns containing constant values (non-formula cells) are editable. This is useful for columns like Total (= Price × Quantity), Age (= TODAY() − DOB), or Status flags calculated from other columns — they update automatically as you enter or edit the input values, and their read-only display in the form confirms the formula result without exposing the formula itself.
- What is the maximum number of columns the Data Form supports?+The Data Form supports up to 32 columns. If your data range has more than 32 columns, the form displays only the first 32 and silently ignores the rest. For tables wider than 32 columns, the form still provides significant value for the first 32 fields — consider placing the most frequently entered columns in the first 32 positions. Alternatively, split very wide tables into a primary table (frequently edited columns) and a related extension table (rarely changed attributes) joined by a common key column.